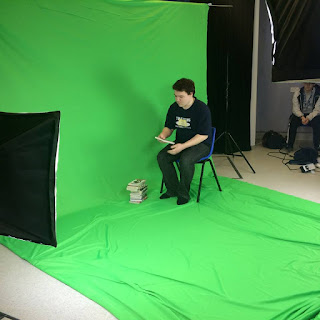
While editing my greens screen short film using the software Adobe Premiere CC, I took some screen shots demonstrating how I edited the video and also what kind of tools and effects I used to perfect my short film which had to last 30-45 seconds.
Screenshots:
First I went on to file>new>project which came up with this box. From here I started creating the new project which I named the Green Screen Film and made sure the capture format is on HDV.
When I created the Green Screen project I went to file>import which imported all the shots I needed to put together the film which is shown below.
When I imported my videos, I dragged each shot and placed it on the screen so I can edit each shot by cutting out the bits I do not want to use in the short film.

Over here I went on effects>Keying>Ultra Key and selected the key colour and pressed the background of the shot to make it black. By doing this I can now add a background of any kind so it would look like he is in the area.

After I made the background I added the same background to all of the scenes where Callum was running but I added a different background for Dan who was the killer in the video to show that he is in a different are than Callum.
To add a title in the video I went on to File>New>Title, which came up with a new tab and gave me a choice of different fonts, colours, and transitions for the text I want to insert.
When I finished adding the background on all of the shots I decided to add a title at the beginning of the video which faded in slowly with the title 'The Chase'. When I decided on the title I added a different font and white outlines on it to make it stand out and to match the theme of the video which is a horror.
When I added my title I decided to add the credits to show which bit each person in my group worked on such as directing and actors. When I did this I added a transaction which makes the text start from the bottom and move up slowly until it disappears.

To make my short film better I added music and sound effects as I found it on YouTube then imported it to the video.

When I was done adding all the music and sound effects, I changed the volume on all of them so they would not be too loud or too quiet and then faded the music at the end so the volume on the music would slowly go down.

When I was done editing my whole video, I exported it by going on File>Export>Media and the format was H.264
Here is where I was done exporting it so I saved it to the Green Screen file on my hard drive. Then I put the video on YouTube so everyone can see the work I have done.
https://www.youtube.com/watch?v=mzAfL6XSHOs
Overall I feel that my work went well as this was the first time I have ever used a green screen and I also used different editing techniques I have never used before.


